


By Jeff Milisen
All images and videos © 2024 Jeff Milisen
Structure from motion (SFM) is the creation of 3-dimensional models from many overlapping 2-dimensional images. In some ways, it works similarly to a stereo camera where a computer identifies similar points in adjacent images and triangulates the position of those points as a distance from the camera. This process is then repeated for many tens, hundreds, or even thousands of images to create a point cloud. By identifying and placing those matching points in 3-dimensional space, computers can then lay the images over the point cloud like a blanket, creating a 3-D image. This is a specialized technique that anyone with a camera and access to some decent processing can replicate. This article is meant to cover the bare basics, but the interweb is full of useful tutorials to help take your SFM to the next level!
Structure from motion is, admittedly, out of my normal orbit. My traditional photography creates wildlife portraits and captures scenes from some of the earth’s more remote corners, especially the pelagic zone. I play fast-and-loose with some of the technical aspects of underwater photography and get by with as little post-processing as I can. By contrast, structure from motion doesn’t depict wildlife, it requires strict adherence to equipment, settings, and methods and takes many hours of processing to produce a final model. My dive buddies have all played a role in one of my many hair-brained and complicated underwater missions. Between planning big photoshoots, taking data, building complex underwater structures, and lately, coordinating large-scale ocean cleanup missions, my work utilizes a wide range of skills. In that light, 3-dimensional images of large areas can be a remarkably powerful tool.
I first learned of SFM while contracting for NOAA as an in-situ fish survey diver. In addition to counting and sizing as many as 800 species of fish around some of America’s most remote Pacific islands and atolls, we were trained to produce SFM models of the reefs near our transects. They used the models to generate ecological measures such as rugosity and percent coral cover of our survey sites. The images also served as a permanent record that could be referenced later to answer any benthic questions future researchers might have. In today’s changing ocean, the ability to look at thousands of 3-dimensional models of the reefs of years past is incredibly handy. However, SFM isn’t just useful for ecologists. Marine archaeologists are using it to study shipwrecks, divers create images of their dive sites, and some creative folks have used similar techniques to 3-D print models and toys of various objects. Most recently, I generated a 3-dimensional model that informed the coordination of an ocean cleanup.
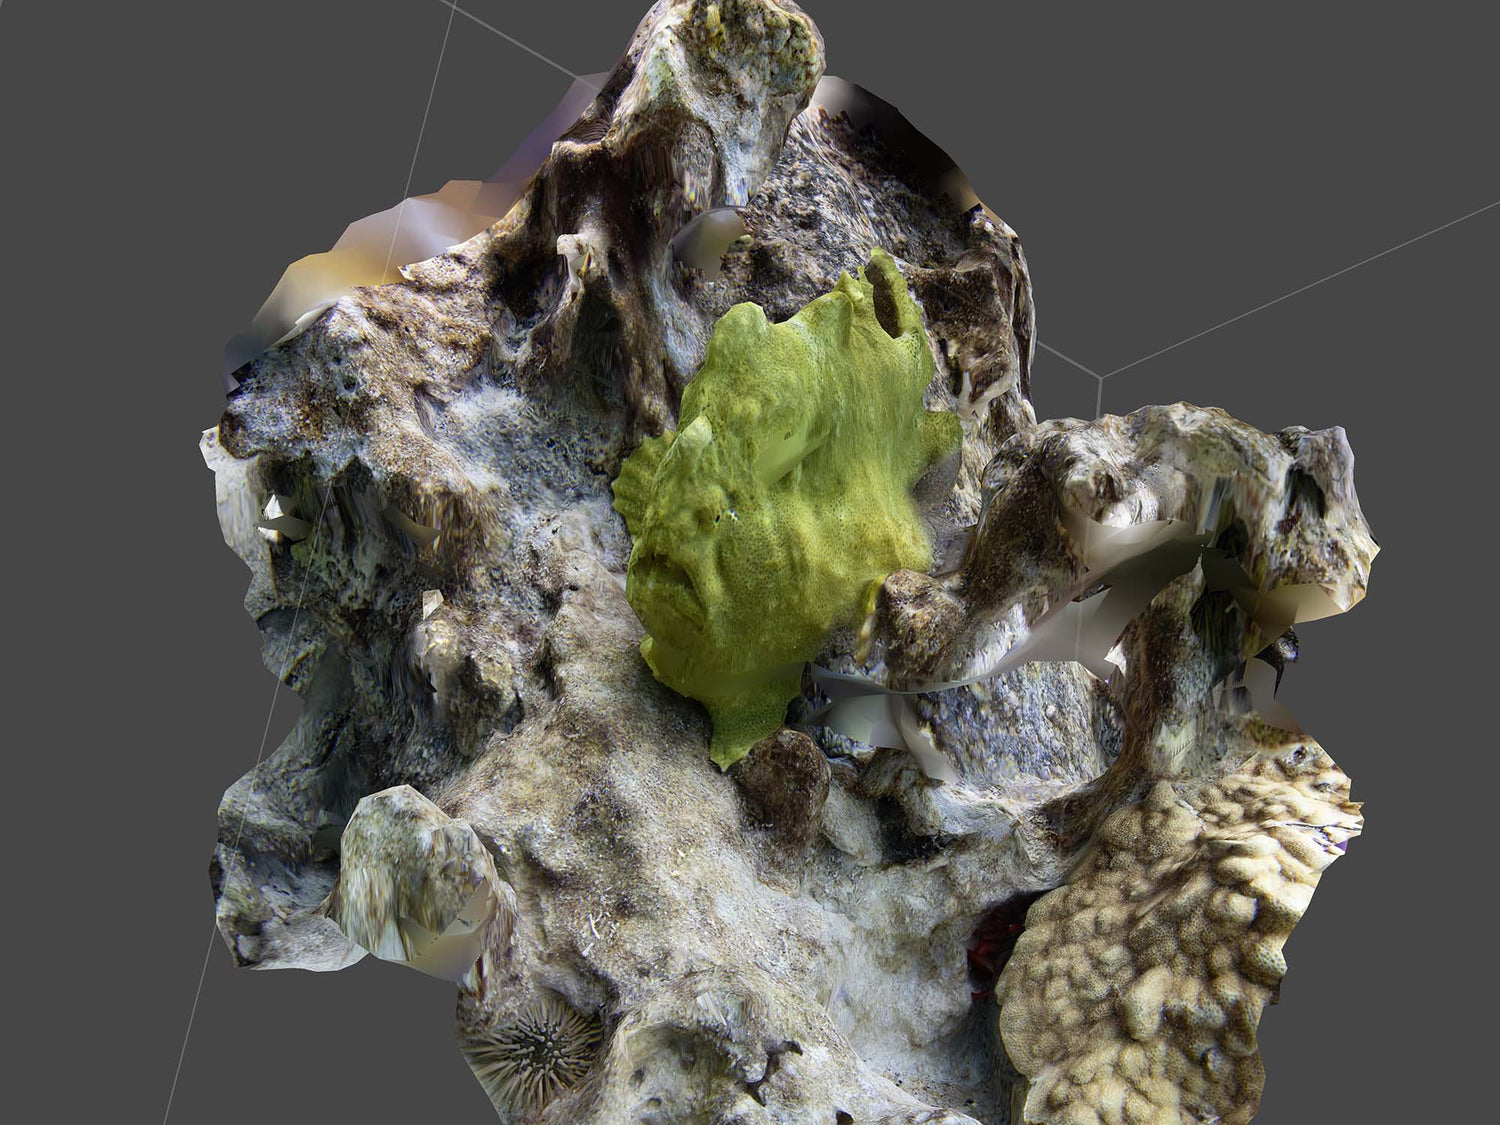
BEFORE CLEAN UP // Once the final model is assembled and the texture is laid down, you can animate a fly-through of the sites. This fly-through shows the site before the tire clean up.
My buddy and I found a pile of over 70 large, discarded tires while scooter-diving a new dive site ¾ of a mile offshore from Kona. The concept of tire reefs was discontinued many years ago, largely because we are still learning new and creative ways that tires destroy a healthy reef. For example, five gallons of petroleum (aka hydrocarbons) go into the production of each tire, and all polycyclic aromatic hydrocarbons are known carcinogens and induce severe stress effects in fish. Along with oil, hundreds of other chemicals are used. The effects of the chemicals that we know about include heavy metal toxicity and the root cause of Urban Mortality Syndrome where 40-90% of returning coho salmon die before spawning. In addition, tires serve as traps for urchins and snails, two important grazers on Hawaiian reefs. The animals fall into the middle and cannot navigate the lip to get out. The gist is that these tires had to go and were far too many for us to remove alone. We needed help. The cleanup required the help of a nonprofit called Ocean Defenders Alliance and the coordination of 50 volunteers and 6 local organizations to return to the site to bare reef. That meant detailed planning, creating a map, and at the very least, figuring out how many tires we were working with.
AFTER // This fly-through shows the site after the tire clean up.
Taking the Images
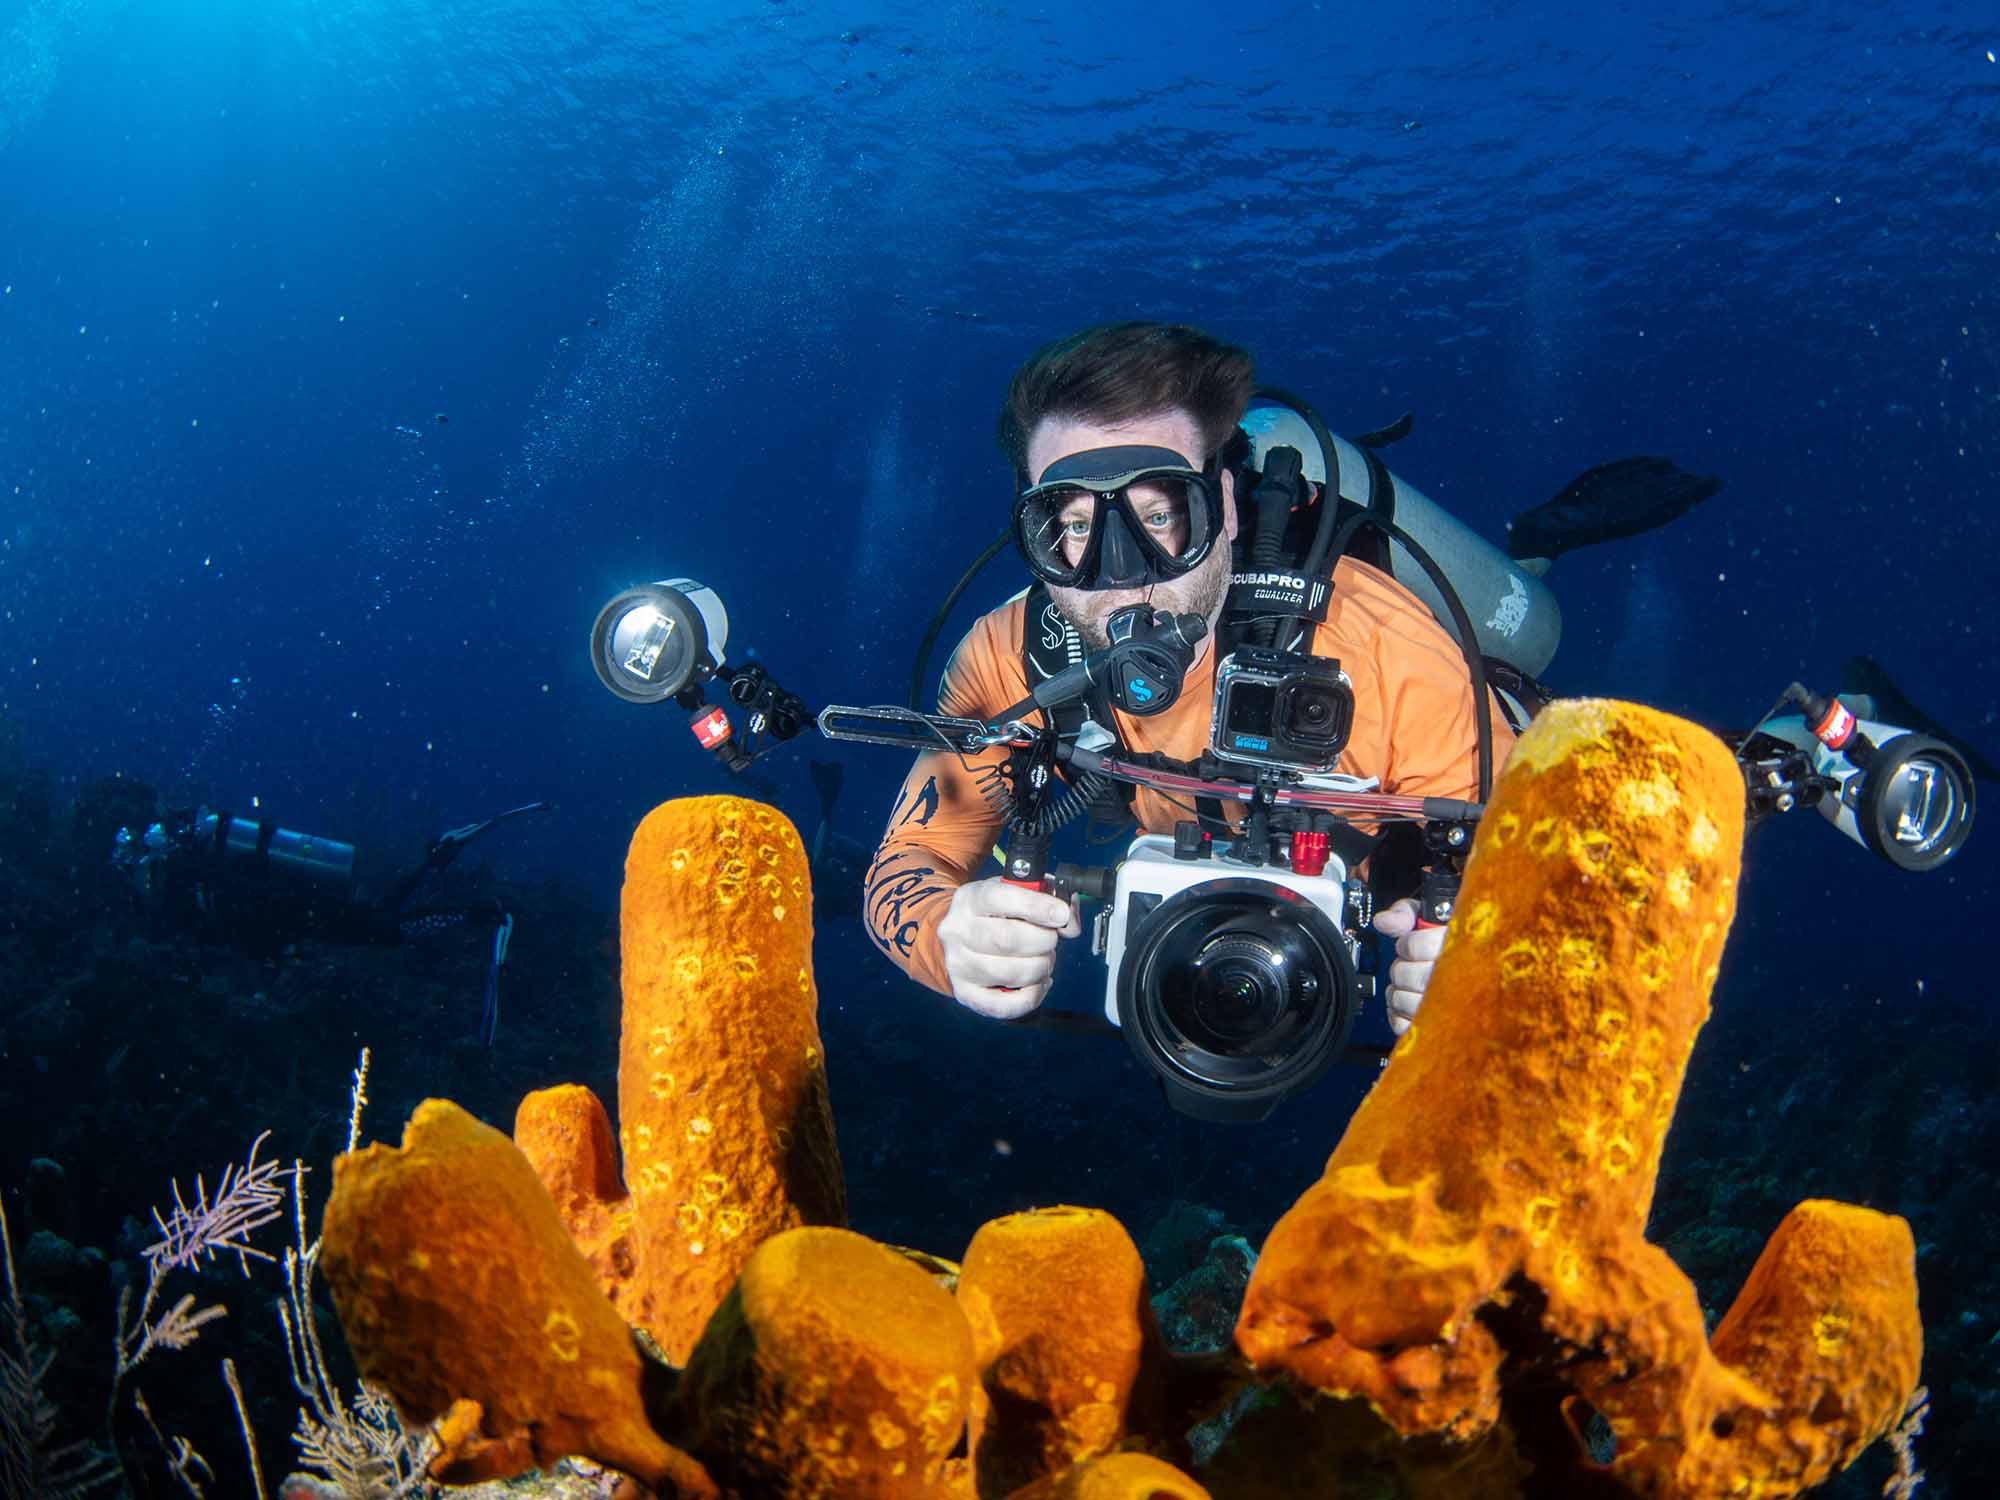
To create a model of our newfound “Tire Valley,” we had to take the images for the program to stitch together, but first, let’s talk about equipment and settings. Today’s cameras, from top-of-the-line mirrorless down to even GoPro’s create adequate images for structure from motion depending on what you need it for. The key is using a wide-angle lens for efficient coverage. Whatever camera you go with, you’ll want a lot of memory. I use a 64GB card which is small for today’s standards. For camera settings, raw photos will be unmanageable. I’d highly recommend using jpegs and white balancing at depth before you begin. Set the camera to manual mode. The shutter speed should be 1/200sec or faster, f/10, and iso set to auto. I like setting the exposure compensation to -1/3. Autofocus mode should be Al Servo and the shutter mode to slow continuous shooting. Finally, be sure to turn the auto-rotation of the images off, otherwise you’ll be doing a lot of rotating in post. Once set, lock your camera in the housing, pump the vacuum, and set off to your site of interest. Importantly, white-balance your camera at depth just before you begin shooting as this will save you time later.
The key to a successful structure-from-motion image is being methodical. For the images to be useful, they must overlap with the neighboring images by about a third. More overlap is better. Images that don’t overlap, or areas of the final image that are missing, create holes in the final product. Some researchers use vertical drums that unspool line at a specific rate to create a spiral with the correct spacing. Others use a transect, or a taught line stretched across the reef to guide them. For this project, I had neither, so I had to do my best with the natural reef structure and keep a mental map while I mowed the lawn back and forth over the site. Whatever method you end up going with, don’t be afraid to go over a suspicious spot a few times as more images create a better model.
The number of photos required for the final model is a function of how far you are from the reef/subject and how big of an area you are trying to image. The distance from the subject/reef depends on how much detail you are trying to depict, but you’ll want to keep on a relatively consistent plane. You can use an isobath or steady depth, or try to follow the rough plane of the terrain. The final editing program will have issues stitching together images shot at wildly different angles or distances from the subject. For mapping out something small like newly settled corals, one can work at the minimal focusing distance of the lens. I didn’t need much detail at Tire Valley, and with an area of around 40 meters wide, I swam the camera around 3 meters off the benthos and snapped a casual 2500 photos to piece together the final model.


Post Processing
This is a technique where computing is critical to success. The following will walk you through the equipment and software I used along with a brief step-by-step on how I create models. At best, I tinker with SFM and this is a surface-level beginner guide. You can dive deep into the interwebs and find much more detailed tutorials written by SFM gurus for every step of this process if you desire.
When preparing to process thousands of images at a time, you can quickly get carried away with computing specifications. Today, however, minimalists with a little patience for processing can get away with more reasonable consumer-grade computers. I used a Macbook M3 Pro to stitch these models together. They took anywhere between 15 minutes to 8 hours depending on how many images went into the final product. For comparison, I also tried my 2017 Macbook Pro, and that same model that took 8 hours on my M3 took 2 days of processing. Other options include renting time on servers through Google or Amazon on the cloud. Realistically, any modern computer with sufficient RAM, a modern processor, and a decent graphics card should suffice. For software, I tried a couple of free programs but liked Agisoft Metashape so much that I splurged for the cheap license.
I usually start by creating a folder of the images I want to use as this simplifies the organization of the process. Assuming you followed the above instructions and white-balanced the images in-camera, you can go ahead and start with the image stitching.
Step 1
Start by opening Metashape and selecting Workflow > Add Photos. This will load the photos into the program. You can also deselect the photos that you don’t want to include.

Step 2
The program will need to align the photos: Workflow > Align Photos. This may take a while as the program searches for those overlapping areas to join together. The result with be a sparse point cloud, or series of points that overlap in a 3-dimensional space. You can play with a few settings like point limits, but for my purposes, the original settings worked just fine.

Step 3
Build a dense point cloud: Workflow > Dense Point Cloud. This process will reanalyze the photos at a much finer scale to look for many aligning points. The result is going to be perhaps an order of magnitude more aligned points that, from a distance, will look like your final product, but will still be points when zoomed in.

Step 4
Build the model: Workflow > Build Model.

Step 5
Apply the texture: Workflow > Build Texture. This step will essentially lay the photos over the point cloud and model that was generated in the previous steps.
From there, the model is yours to play with. You can now use the model to create a fly-through of your dive site or export it to several formats including PDF and JPEG and then overlay those in Google Earth. More advanced techniques can include geo-referencing the site and introducing markers that can be used to scale the size and orientation of the area. What you choose to do with the 3rd dimension SFM gives you is entirely up to you. SFM is a little more complex than creating a single jpeg, but it is an increasingly useful tool that is being employed for more and more purposes. What will you do with it?

Additional Reading
World's First Animated 3D Anatomically Accurate Model of a Manta Ray [VIDEO]
Illuminating the Technology of Coral Reef Research
New Manatee Habitat Discovered | A Call to Action [VIDEO]
Why Is the Ocean So Bright When You Turn Off Your Lights?
Washed Ashore: Using Discarded Plastic to Save the Sea
 Ambassador Jeff Milisen is an internationally acclaimed underwater photographer who has specialized in blackwater photography since 2009. He is a recent addition to the Ikelite ambassador team. His upcoming book, a Field Guide to Blackwater Diving in Hawaii, will help both newbies and seasoned blackwater veterans identify the strange animals they encounter. He currently shoots with a Canon EOS 7D Mark II and dual Ikelite strobes. Read more...
![FOUND NEMO?! Photographing Clownfish and Anemones Underwater [VIDEO]](http://www.ikelite.com/cdn/shop/articles/Clownfish_Finding_Nemo_Blog_Cover.jpg?v=1724785632&width=2000)