Those sharp ribbons of light add a little magic to your photo no matter what the subject. Learn what's up the magician's sleeve and how to have the best chance of conjuring this beautiful effect.
Where
All waters
DSLR + Mirrorless
ISO: 100 to 400
Mode: Manual
Aperture: f/11 to f/22; small apertures (larger numbers) are preferred
Shutter Speed: Minimum 1/125; up to 1/1000 depending on the brightness of the scene
Lens: Super wide angle lenses are usually associated with light rays, but any lens can capture and freeze light rays if the angle is right.
Point + Shoot
ISO: 100 to 200
Mode: M Manual or Av Aperture Priority
Aperture: The smallest possible aperture (largest number) to define the shapes of the light rays
Shutter Speed: Minimum 1/125; much faster if you have the light
Focal Length: Wide angle

The light rays that seem to emanate from this whaleshark are actually caused by the sun being directly overhead. The shadow of the photographer makes them: you can see the my shadow on the whaleshark's back. Reposition yourself as necessary to center them on your subject.
Technique
Shooting rays of sunlight was a big stumbling block of the earlier digital cameras. Photographers learned in the 1970s that a shutter of 1/125th or faster would "freeze" light rays underwater in a way that just doesn't exist on dry land with film.
Digital sensors tend to blur the light into a giant ball underwater. The sun turns completely white with no color information at all, an effect we call "blown out pixels." There are ways to work around this problem. First: you light rays are probably dancing.. fast. This is normally due to choppy waters or disturbances on the surface (even if it's coming from your bubbles). To image them as sharp lines with clean edges we need to stop them, so the faster the shutter speed, the better.
Slower shutters (1/30-1/60th second) can still yield nice bands of light, but it will be softer edged... which could be better!
Light meters freak out when you point them at the sun, or a dramatic highlight, so frame up a couple different places in the scene to check your readings. Try going to the brightest part of the water, but not the highlight (or sun ball) itself.
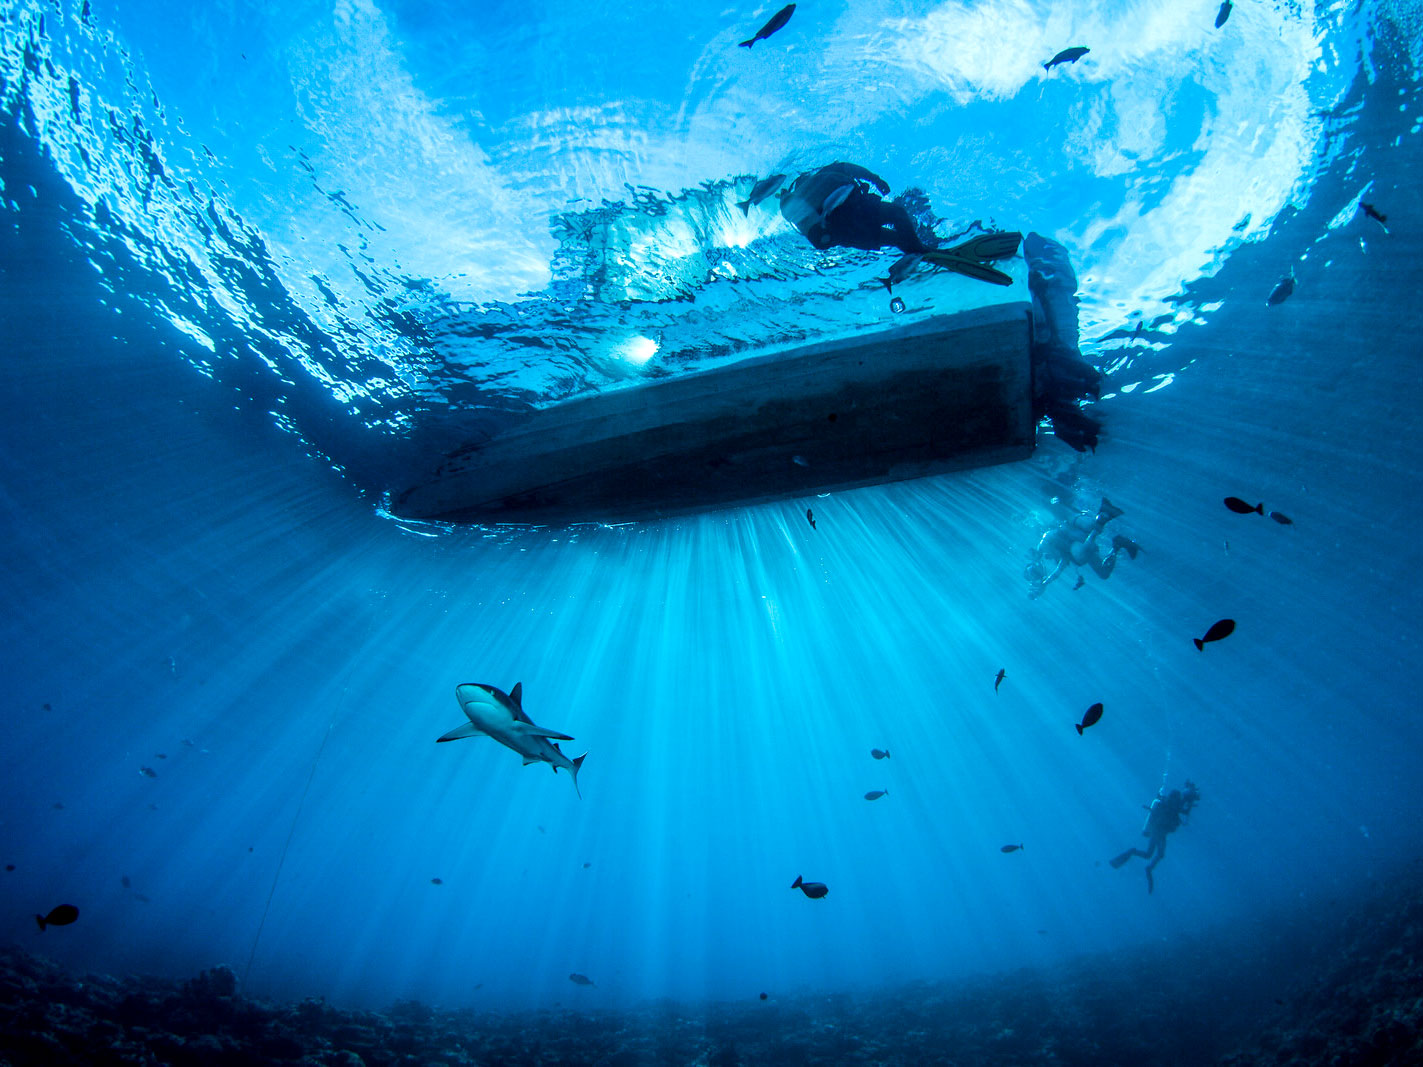
Sun Rays come from part of the light being blocked, so a boat, cave entrance etc. are the classic examples. To accentuate the rays, swim until your highlight is at the severe edge of whatever is blocking it, and move until you see it just start to spill over the side. A small aperture will cause the "starburst effect" similar to a star filter, with extended arms on the rays.
The time of day has a big effect on light rays. Just before sunset there is a color and angle to the light (rays) that we call magic (or God Rays).

Everything goes upside down when shooting in super low light settings. Be prepared to use a very high ISO (1600 here) in dark environments like this cenote. First open the lens aperture all the way, and slow your shutter speed down to 1/60th or so. See what you get. Faster shutter speeds, smaller apertures, and lower ISO would be nice- it just matters how much light you have to work with. The first thing to change is ISO.
Strobes
You may want to leave them behind or turn them off. Those beautiful patterns on the back of a large shark or dolphin can be obliterated by too much flash.
Additional Reading
Caverns and Cenotes Underwater Camera Settings
Crocodiles, Cenotes, and Chinchurro with Ken and Kimber Kiefer
Whale Shark Photography Underwater Camera Settings
Top Tips for an Awesome Whale Shark Encounter
Whale Sharks Off Isla Mujeres with Ken & Kimber Kiefer


