


![Installing a Vacuum Test Valve in an Ikelite DLM Underwater Housing [VIDEO]](http://www.ikelite.com/cdn/shop/articles/ikelite-underwater-housing-vacuum-valve-installation-blog-cover_5d06e5c8-a5c6-4218-937e-c44f6d70f825.jpg?v=1744307146&width=1500)
Featuring John Brigham
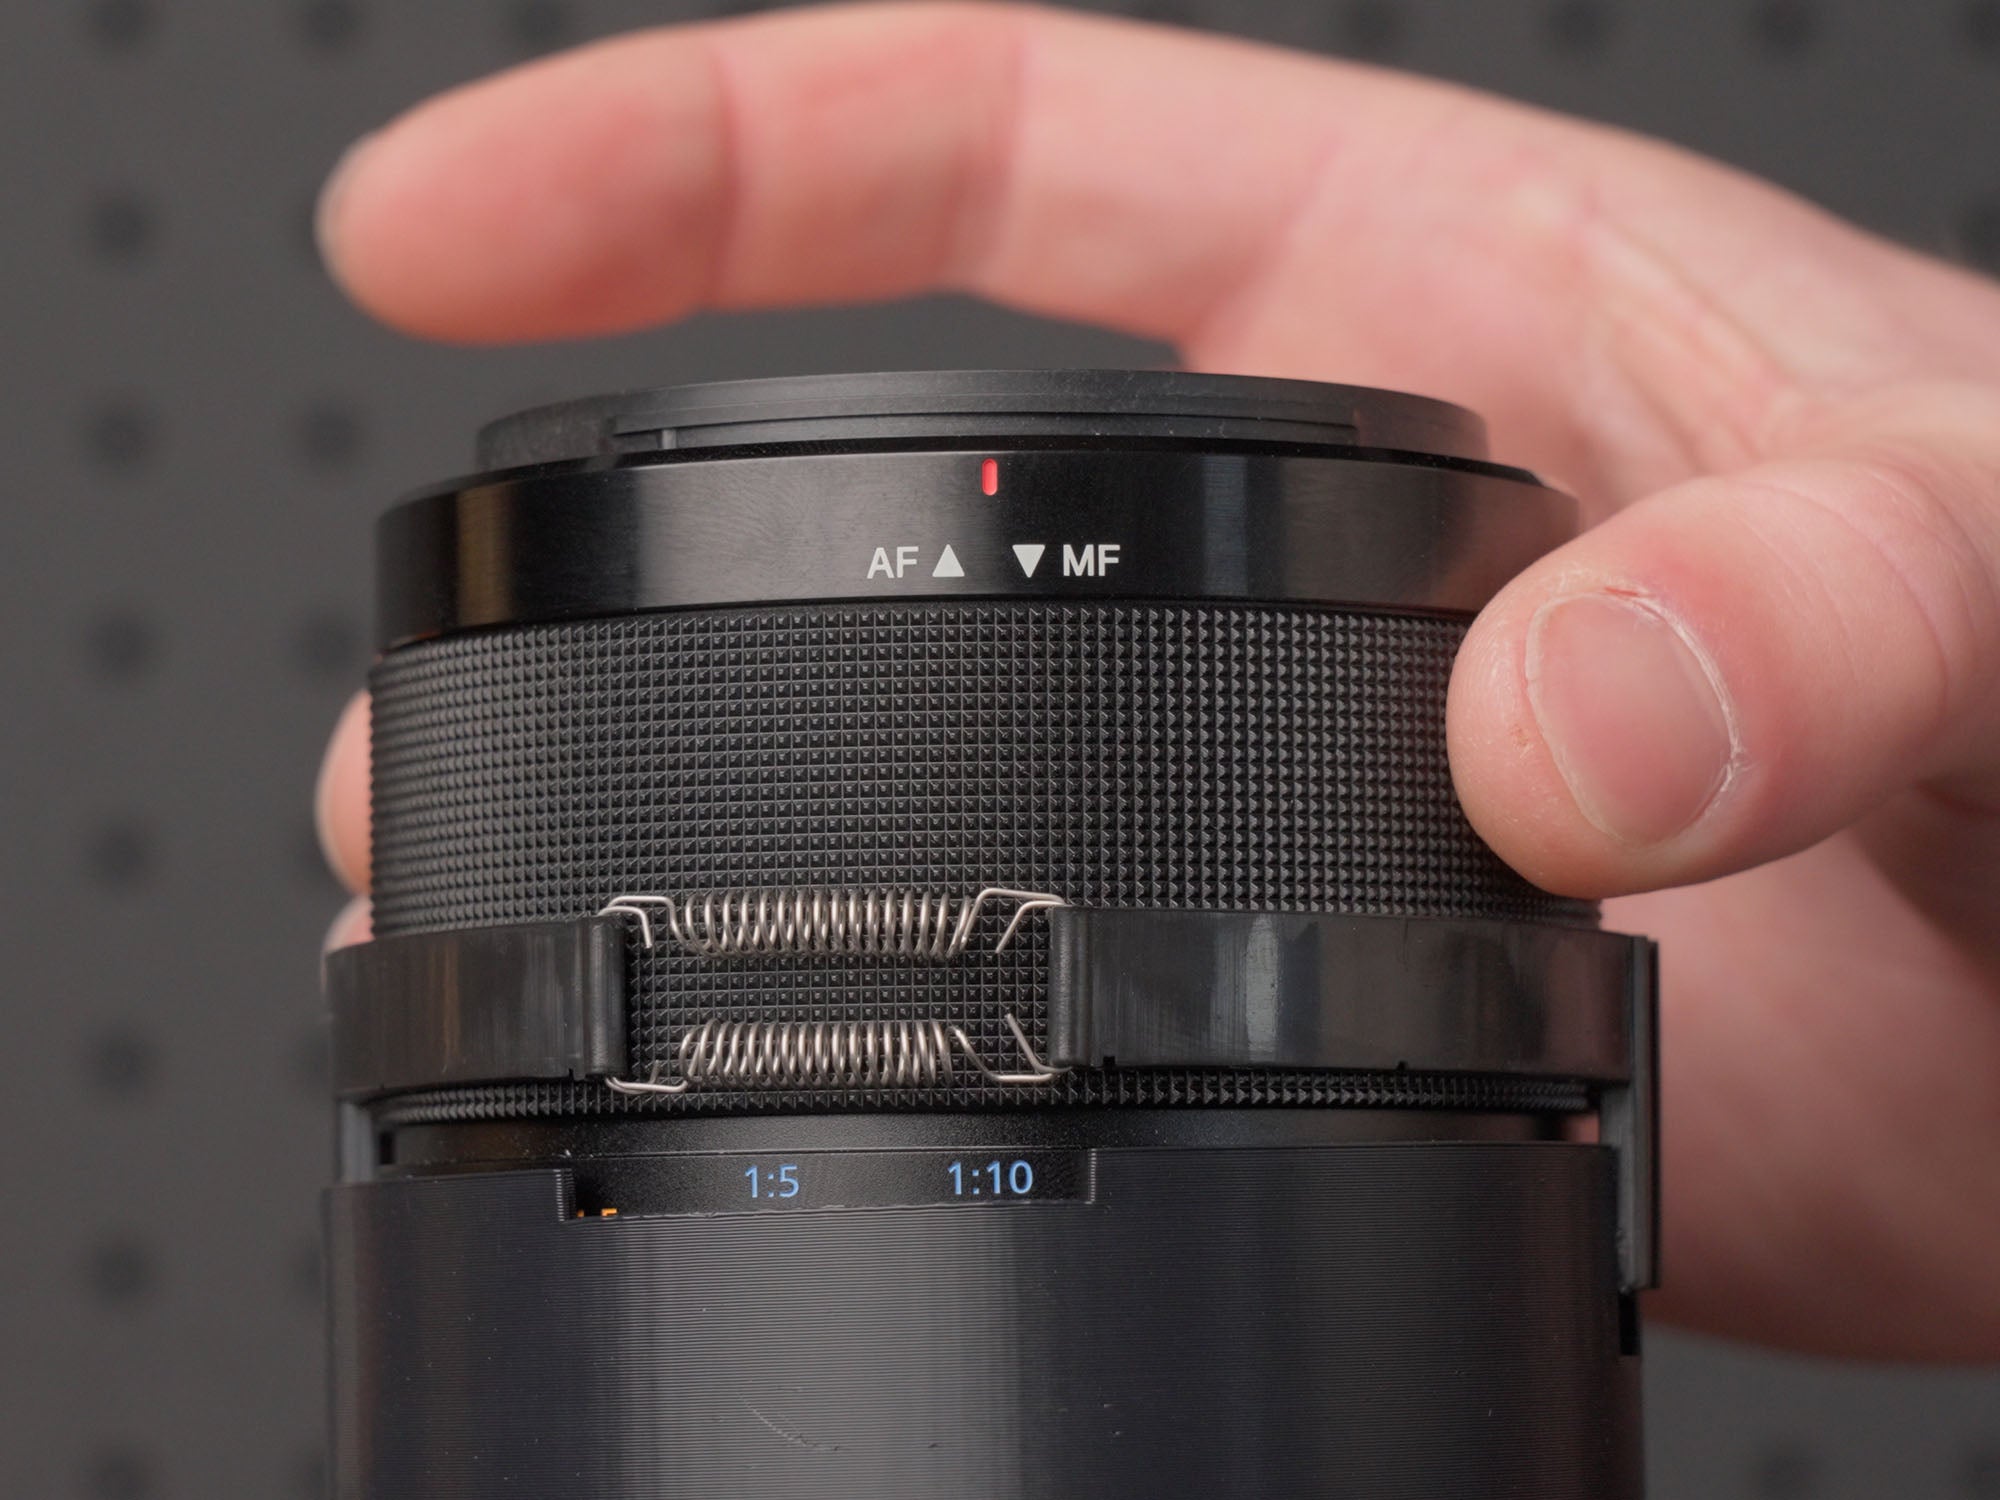
Using a vacuum leak detection system is an important step in assembling your camera housing for use underwater. A vacuum system allows you to check that the housing is airtight and watertight without risking damage to your camera.
Ikelite VP John Brigham shows you how to install an Ikelite 1/2" vacuum valve in the 1/2-20 threaded accessory port in your Ikelite DLM or compact digital underwater housing.
Follow along with John in the video or scroll down to read the video transcript.
Products Used
- Vacuum Valve for 1/2" Accessory Port # 47001
- Also available as a kit with the vacuum pump: Vacuum Kit for 1/2 Inch Accessory Port and DSLR Top Mount # 47012
Removing the 1/2-20 Plug
On the outside of the housing, we'll remove the plug using an 11/16 wrench. It simply threads into the housing, so we'll just carefully loosen the plug from the housing. And we're going to keep the plug with our spare parts.
Installing the Vacuum Valve
In order to provide access to the inside of the housing, we'll remove the back. Lift up on the locking lid snap levers on both sides, release the lock, and lift up and then simultaneously up and over the hooks. That lets us remove the back which we can set to the side and provide us with access to the inside of the housing.
With the back removed, now we can turn our attention to the valve itself. Just to give this a look, what we have is a cap that goes into the valve. You'll notice that's tethered to a hexagonal piece, that's going to keep that on the housing so that when you take the plug out of the valve it stays with the system. You don't want to dive with this under a vacuum and the valve not to be plugged.
So we're going to take note of that hexagonal piece. You'll notice there's a screw on one face of it. That screw head is actually going to face the push button of the valve which is going to face away from the housing itself. I like to orient that hexagonal piece so that the screw head is one flat away from the push button.

This hexagonal piece keeps your vacuum valve cap tethered to your housing as a reminder to always keep the vacuum valve plugged when you're not actively using your vacuum pump.
Next I'm going to remove the nut and I'm going to visually inspect the gasket, make sure that it's clean. Then I'm going to place the valve onto the housing in a way that gives me easy access to the push button so that once I tighten it down, that allows me to remove the cap and remove the barbed insert during operation.
I'm going to start the thread of the nut on the inside of the valve. Give it a quick visual inspection, take your time before you start tightening it down with a wrench. Then using a 9/16 wrench, we can start to tighten down the nut on the inside of the case. While you're doing this, make sure you hold onto the vacuum valve itself. You'll notice that you'll start to feel the compression occur as you start to tighten the nut down on the inside.
Now there's no need to over-tighten this, there's no need to take another wrench on the other side and really crank it down. But we do want to make sure it's relatively snug and that we don't lose the orientation of our push button. The seal is a compression seal that once you get it snug down, keep in mind that a vacuum will reinforce that seal. Once we have it nice and snug, we can replace our back.
Now we've easily installed a vacuum valve onto our housing. If you have any questions about this installation whatsoever, please feel free to shoot us an email to ikelite@ikelite.com.
Additional Viewing
Checking for Housing Leaks Using a Vacuum Pump and Valve
Install a 45º or Straight Magnifying Viewfinder on Your Underwater Housing [VIDEO]
Adding a GoPro to Your Ikelite Underwater Housing [VIDEO]
Stop Doing This to Your Strobe Battery Pack! [VIDEO]
How to Polish an Acrylic Dome Port [VIDEO]
 John Brigham is the Vice President & head of product development at Ikelite. He was born with a flair for design and an entrepreneurial spirit as son of Ikelite founder Ike Brigham. He worked his way up in the business and is a natural fit in the R&D side of things. John dives the equipment as much as possible to test product and put himself in the "fins" of the user. You may also find him on the other end of an email or phone call when you reach out for product advice and support. When he's not underwater he's flying drones, setting off rockets, training his German Shepherd "T2", and spending time with his family.
![Canon Back Button Focus for Underwater Photography [VIDEO]](http://www.ikelite.com/cdn/shop/articles/Canon_Back_Button_Focus_Blog_Cover_eeb78eca-3674-489c-a9ad-3f5f9ef30b0e.jpg?v=1743767208&width=2000)