


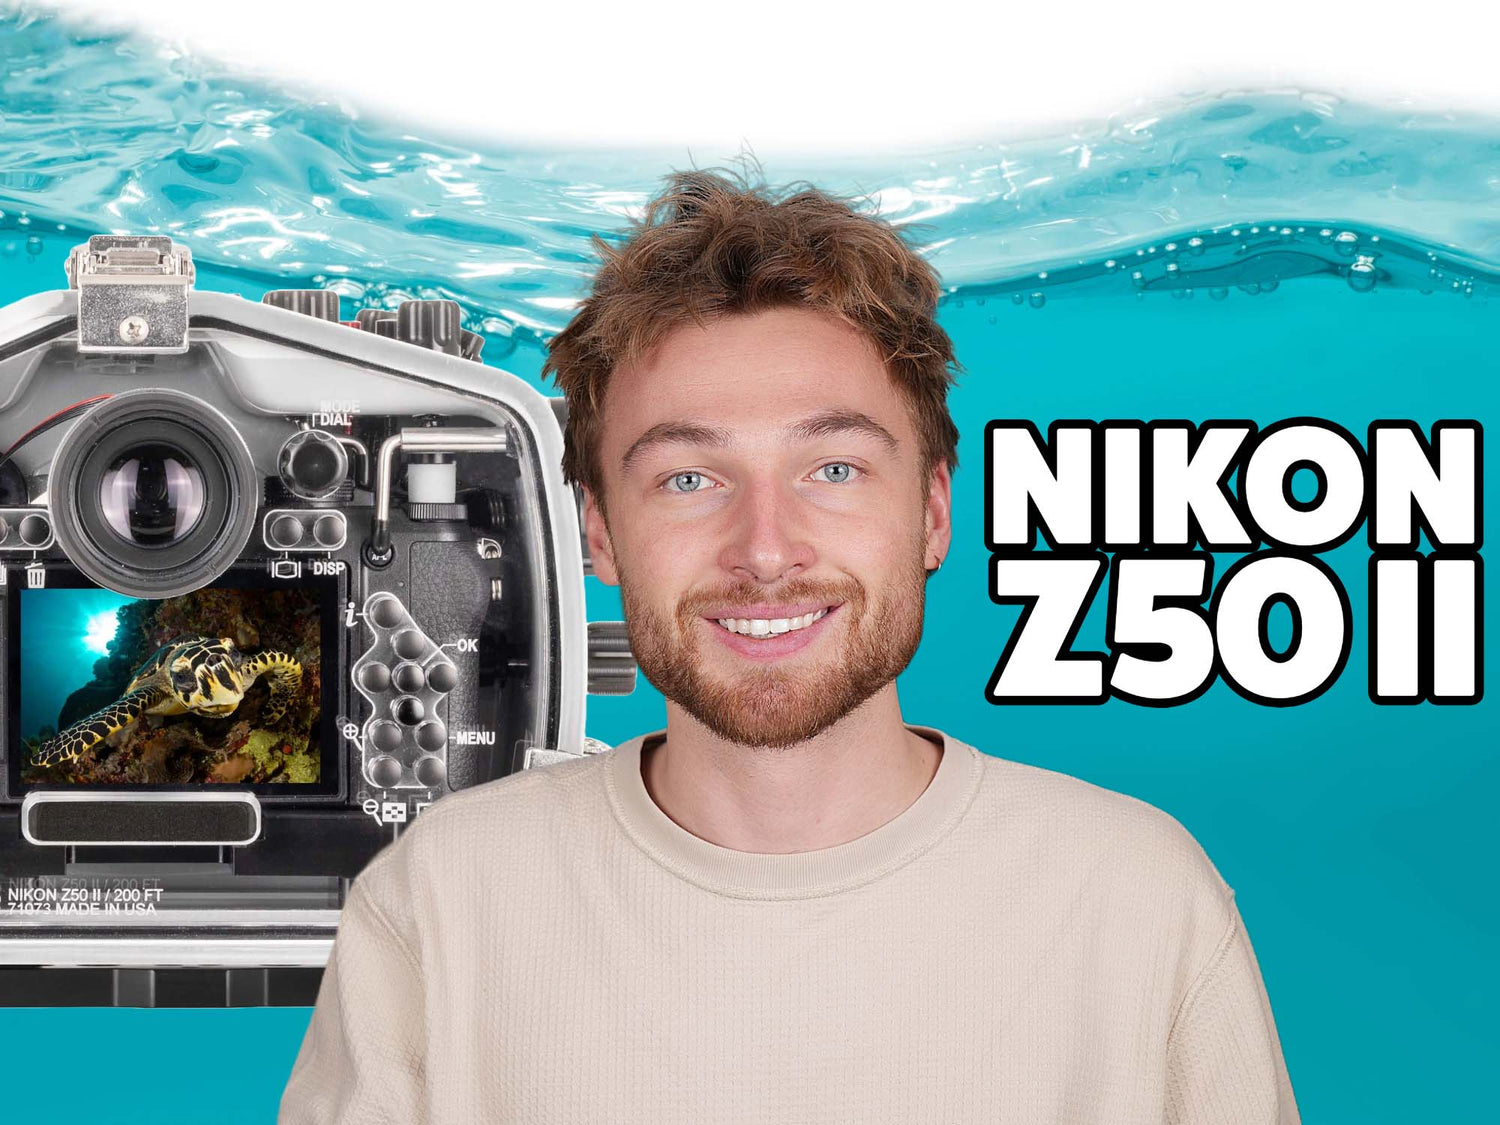
Featuring Logan Wood
The Z50 II is an accessible and affordable entrance point to the Nikon Z-series mirrorless camera line-up. Ikelite Video Producer Logan Wood shows you how simple it is to get this camera ready to shoot underwater with the popular Z 105mm Macro Lens.
Follow along with Logan in the video below or scroll down to read the video transcript.
Get the Gear
- 200DL Underwater Housing for Nikon Z50 II # 71073
- Manual Focus Gear for Nikon Z 105mm Macro Lens # 5509.72
- DL 20mm Port Extension # 75020
- DL 28mm Port Extension # 75028
- DL Macro Flat Port # 75301
The Nikon Z50 II is Nikon's latest entry-level APS-C camera with many of the great stills functions from the Mark I with some advancements on the video side. Let's get into how to install this into an Ikelite 200DL underwater housing.
Optional Accessories
Out of the box you'll have a left-handed handle as well as standard size back button and shutter triggers. You can pick up some optional accessories like the dual handles for strobes as well as shutter extensions. But today we're going to put the housing together right out of the box.

This is what your housing will look like out of the box, with the left-handed handle and standard sized back button and shutter triggers installed.
Installing the Camera in the Housing
The first thing you want to do is flip the housing so the back is facing up. Then lift up on all three lid snaps and remove the back and put that to the side
Inside you'll find the mount for the Nikon Z50 Mark II. This mount features a 1/4-20 similar to a tripod. And this will just go on the bottom of our camera. Place the screw inside the 1/4-20 mounting point on the camera and grab a flat headed screwdriver and just secure it on. You want this to be tight and snug. Any misalignment here will result in misalignments on the buttons in the housing. You'll also notice that there's a back wall on this mount and that will go right outside the screen of the camera.
Once that's on there, put that to the side and we're going to make sure that all of our controls are pushed out and out of the way. Then we'll grab our hotshoe and just slide it into place, make sure to push it all the way forward. Then we'll simply just slide the camera and mount into the housing and then realign our controls.
Next we can close up the housing. Place the back on the housing, take the two side lid snaps over the hooks and press down simultaneously, and then the top. Check that all the lid snaps are locked and you're good to go.
Attaching a Lens to the Camera
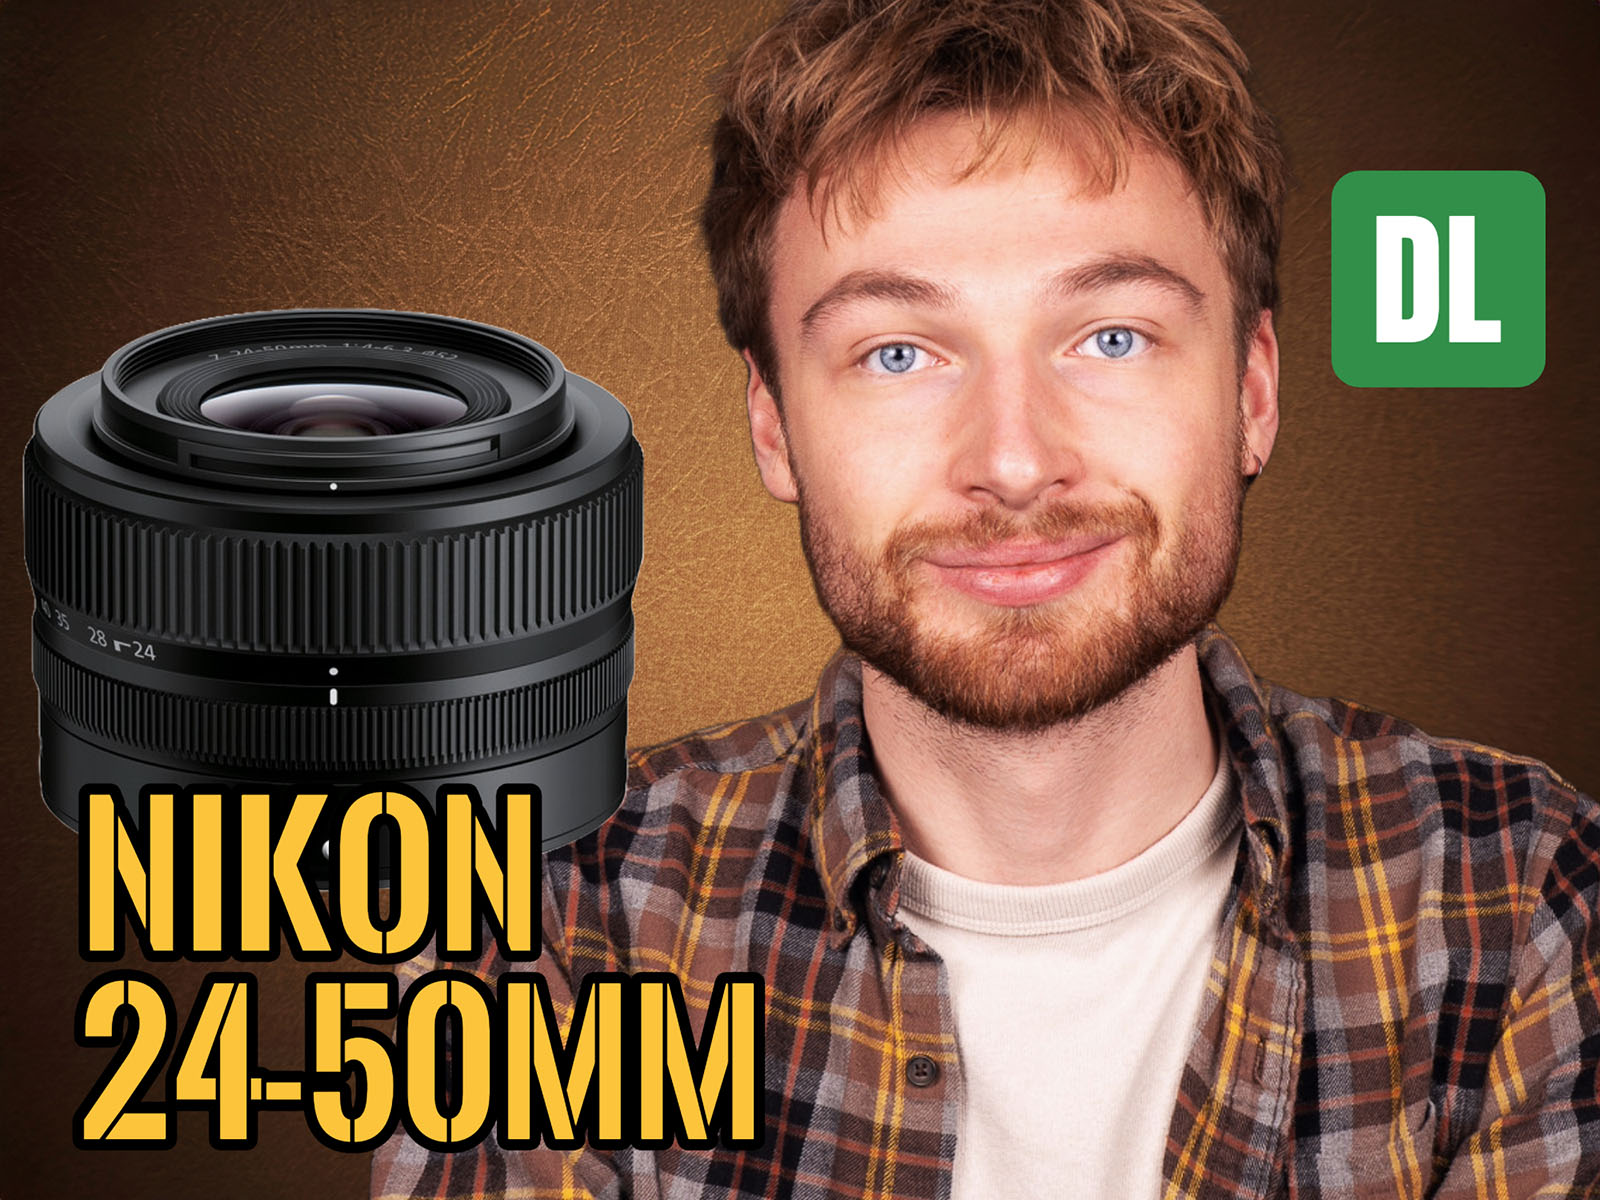
Now we’re going to move on to installing a lens, extensions, and a port. Just for an example, I'm going to use the Nikon 105mm macro in conjunction with the manual focus gear. This lens works great in autofocus, but if you want to take full control of your focus or make small minor adjustments to your autofocus, the manual focus gear is a great option.
To start off, I'm just going to remove the back cap of the lens as well as the lens cap. Then I'm just going to slide that lens gear all the way up onto the lens.
Alright, we're going to put that to the side and draw our attention back over to the housing. You're going to use the included Ikelite zoom gear retainer tool to pop off the zoom gear retainer, as well as the dust cap, and remove the camera's body cap.
Now you're just going to attach the lens like you would any other lens. Just find the white dot on the camera body and the white dot on the lens, line those up, and turn counter clockwise to bayonet it on.
Next you can check that you have manual focus functionality by turning the knob on the side of the housing.

If you would like a more in-depth tutorial on installing the Nikon Z 105mm Manual Focus Gear, watch Nikon Z 105mm Manual Focus Gear Installation.
Port Extensions & Port
This lens specifically calls for a 28mm and a 20mm extension as well as the flat port. Your lens may be using different extensions and a port, so check out our Port Chart to find what extensions and port that you need for your lens.
The first thing I'm going to do is flip over the extensions and make sure that all three of the thumbscrews are backed out from the inside diameter of the extension. I'm going to run my finger around, make sure that it's clean, and I'm going to do that for each of the extensions and port.
Next I'm going to grab some of the included Ikelite lube and put a little bit between my index finger and thumb and apply a light coating around the O-ring of the extension. And we're going to do that for each of the extensions. This allows them to slide together a little bit more easily, but also allows you to feel for any scratches, bumps, or debris that might be on the O-ring. You'll often feel them before you see them.
We're also going to apply that lubricant to the O-ring of the port mount on the housing itself. Take some of that remaining lube and put it on the inside of the sealing wall of your extensions and your port. Again, feeling for any debris, hair, anything that you don't want interfering with this seal.

Note how all of the thumbscrews are lined up and correspond with the pocket on the port mount of the housing as pictured here.
Now when you're putting these extensions and the ports together you'll notice that the thumb screws also have corresponding pockets. Those pockets correspond with the thumb screws on the other extension or port. So to put them together simply line up the three thumb screws with the pockets and press together, and tighten down the thumb screws. I'm going to take my flat port and do the exact same thing. Line it up with that pocket and press it together. These don't need to be super tight, just hand tight.
On our housing you'll see that there are the same corresponding pockets on the port mount of the housing itself. So again we're going to line up those three thumbscrews on our extension with the pockets on the housing. Make sure that thumb screws aren't sticking out into the inside diameter and just place it on top, and tighten down the thumb screws. You shouldn’t feel any resistance while tightening these thumbscrews, if you do just back them out and realign.
Putting the Housing Under a Vacuum
Alright, now from here you have a fully waterproof underwater housing but there is one more step that I like to take to ensure that I have no leaks in my system prior to diving, and that is putting the housing under a vacuum. To do that we're going to use the vacuum pump.
On the side of the housing you'll see a vacuum valve, click the button to release the cap and place the barb at the end of the vacuum pump hose inside the valve, and start pumping.
I've pumped mine to 10mmHg but the number that you pick isn't as important as making sure that the needle doesn't drop. So once you've pumped it to your desired number, remove the barb from the valve the same way you put it in by clicking that button, popping it out, and replace the cap.
I typically do this the night before a dive and then leave it under a vacuum all night. Then in the morning I put the barb back in the valve and check to make sure that that needle didn't drop. If you don't have all night 10 to 20 minutes before the dive is fine but I like to do it the night before so I have as much time to check for any potential leaks.
So to check, just remove the cap again, place the barb inside the valve and make sure that your needle has not dropped. Remove the barb, replace the cap and you're good to go diving.

Now, it’s important to note that while the housing is under a vacuum you will not be able to take off the back or the ports because all the parts are sucked together. So once you're done diving and you want to take your camera out to charge or offload photos simply just remove that cap again, place the barb in, and there's a button on the bottom of the hand pump that will release the vacuum.
If you’re on a boat or somewhere where you don't have access to the pump, a small pencil pressed inside the valve on the housing will also release that vacuum. Remember to always replace the valve cap.
If you have any questions you can shoot us an email to ikelite@ikelite.com.
Additional Viewing
Nikon Z 105mm Manual Focus Gear Installation // Ikelite 200DL Underwater Housing [VIDEO]
Nikon Custom White Balance for Underwater Photos and Video [VIDEO]
Nikon Custom Settings for Underwater Photography // Ikelite 200DL Housing [VIDEO]
Macro Minded: Creating Meaningful Underwater Macro Photo and Video
Maintaining Your Macro Eye | Using Underwater Techniques on Land

Logan Wood is a published photographer, cinematographer, and Producer at Ikelite. Stemming from a great appreciation for the outdoors and living an active lifestyle, his work focuses on capturing and sharing the natural world through the latest technologies. When not in the studio, Logan can be found cruising on his bike, going to concerts, and researching where to go next. You can see more of his work at loganwood.net and on Instagram @jlowood