


Featuring Logan Wood
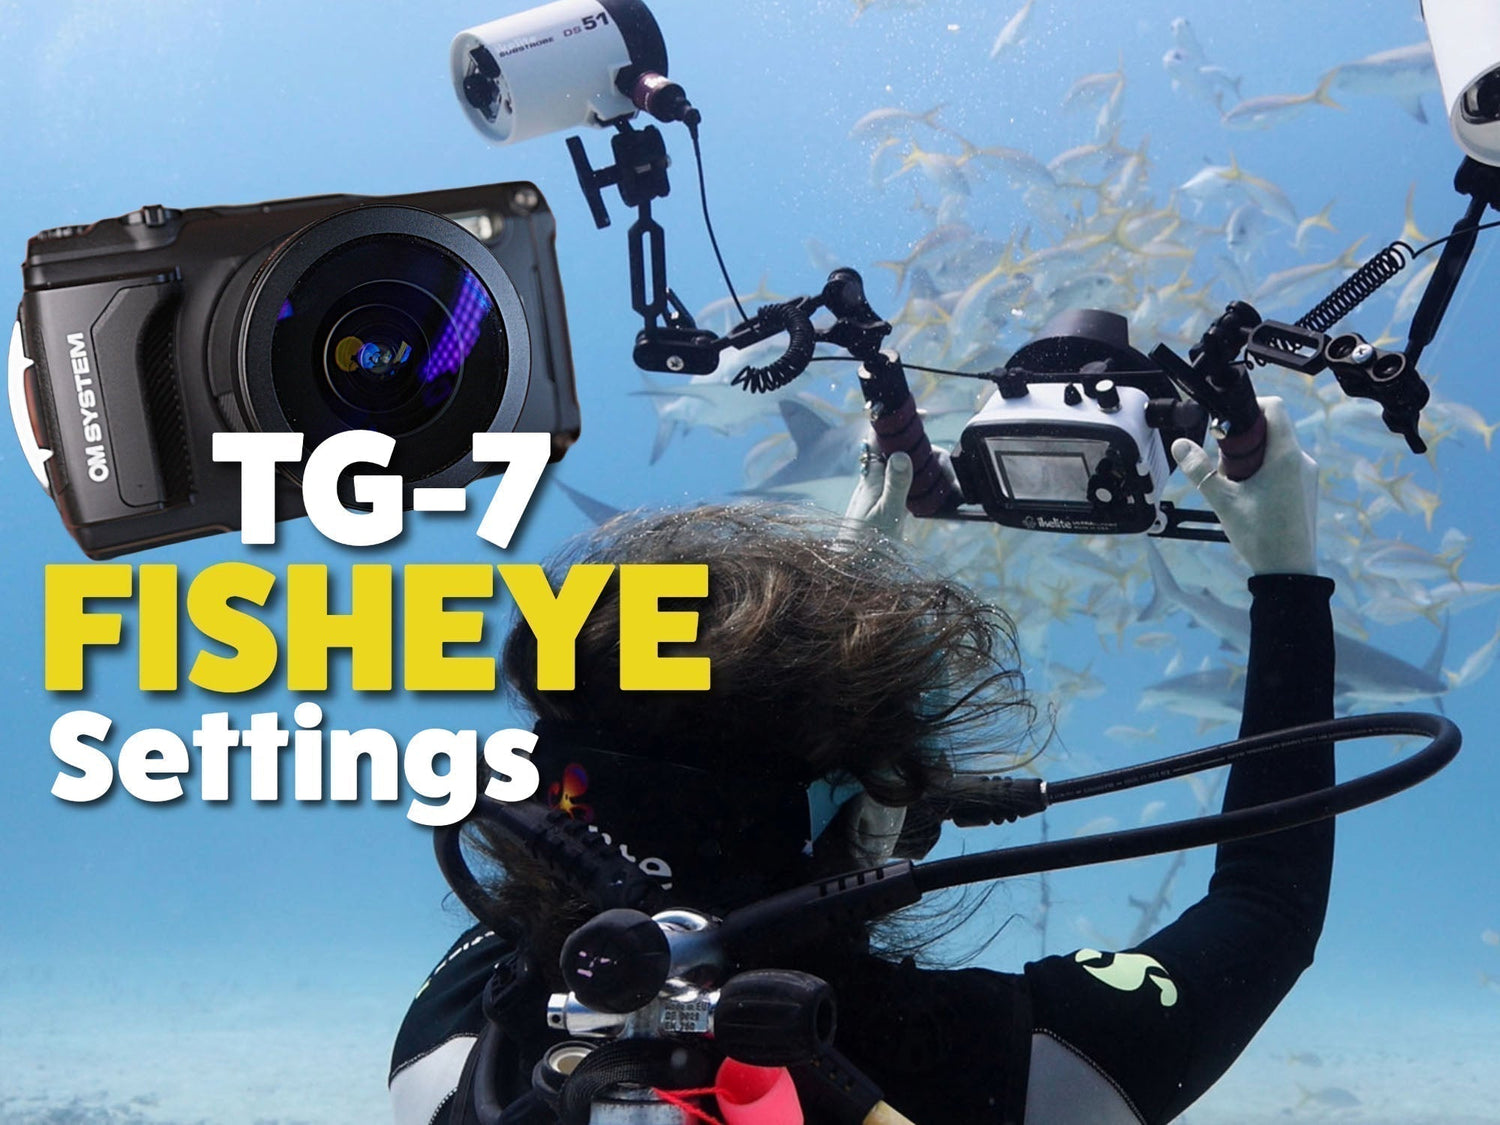
The FCON-T02 Fisheye Conversion Lens is the widest, lightest, and most versatile accessory lens option for shooting the OM System TG-7 or Olympus TG-6 camera underwater. Whether you're shooting stills or video, the FCON-T02 can increase the quality and clarity of your imaging.
Logan Wood walks through the critical camera settings that give you a starting point for success with this system. Follow along with Logan in the video or skip to our TG-7 + FCON-T02 camera settings Quick Reference Guide.
If you’re shooting on the OM Systems TG-6 or the latest TG-7 underwater, chances are you’ve paired it with the FCON-T02 Fisheye Converter Lens. This lens basically lives on our TG cameras and in this video I'll show you exactly how we set up our cameras for wide angle photo and video with the FCON-T02 fisheye converter lens underwater.
Attaching the FCON-T02 to the Camera
First things first, if you don't already know the FCON-T02 attaches to the camera by lining up the white dots on the lens and the camera body and simply turning it counterclockwise.

The FCON-T02 is ONLY supported by the Ikelite Underwater Housing with Dome Port # 6233.14. Learn more about why divers love the TG-7 and check out our wide variety of housing options for this incredibly compact and dynamic system.
Image Settings
Next we turn off the LOG function. The LOG function is used to record location data but will ultimately run down your battery so we prefer to turn it off.
Now let's turn on the camera, and change the mode dial to “A” for Aperture Priority mode. The TG cameras don't offer a ton of manual control so aperture priority is the best we can do.
Now let's press the OK button to open the picture settings menu and let's run down the list and change these settings.
Picture mode set to Natural.
ISO: 100 these TG cameras need a ton of light to get the best image quality, so ideally you'll want to shoot it with some strobes and stick around ISO 100. If you're shooting with natural light though you can use Auto ISO.
White Balance will be set to AUTO.
You'll want to turn on your autofocus by choosing AF.
Aspect ratio we'll keep at 4:3.
Next we'll always want to shoot in a RAW format this will give you most flexibility when changing your colors later on your computer, and more importantly will allow you to change the white balance after you've taken the photo.
Image Stabilization set to ON.
Remote control set to RC because our TG cameras are always set up with Ikelite RC strobes.
Flash compensation is set to 0. But you'll want to come back to this setting later and select OK. This way if you're shooting and feel like you need to lower or raise your flash compensation, you just need to hit OK and it will automatically go back to that setting and then you can use the left or right arrows to bump it up or down accordingly.
Drive mode SINGLE.
Metering Mode set to ESP.
Turn Face Priority OFF.
Set the Accessory to OFF. This might seem counterintuitive since the FCON-T02 is listed as an accessory option. However if you set it to anything other than OFF your strobes will not fire.

Shooting in RAW gives you the most flexibility when editing your photos, this is most important when it comes to editing white balance.
Video Settings
If you want to shoot some video on your dive you certainly can, and I would recommend either 4K 30FPS (frames per second) or 1080p 60FPS.
Most underwater footage is shot at 60FPS so you have the option to slow it down later. So if you think you’ll want to slow down your footage I would stick to 1080p 60 frames per second.
Image Stabilization set to ON.
Menu Settings
So now we've set up a majority of the settings on our TG-7 camera, but there's a few more that we like to change.
So, we'll press the menu button and we'll start by changing the AF Area to Spot, then just choose the center box. We found this to be the most convenient when shooting a wide variety of underwater subjects.
We aren't going to change anything in the Shooting Menu 2 and nothing in the Video Menu because we already set that earlier. We'll leave the Playback Menu up to personal preference.
On page A of the Custom Menu, we're going to turn AF Illuminator OFF.
Scroll down to page C and select ISO Auto Set. Hit the right arrow on Upper Limit Default and we're going to set the upper limit ISO to 1600 and the default to 100. Again, ideally, you're shooting this camera with some strobes. However, if you are shooting ambient light and using auto ISO, this will tell the camera that the highest ISO you want to use is ISO 1600. Anything really above that, you're going to start getting really noisy images so 1600 is a good place to start. But if you feel like you need to go any higher, you can play around with this setting and change the upper limit.
Press OK and scroll down to page H. Under Sleep, we like to set it to 1 minute so that after a minute of inactivity - no pressing buttons on your camera or taking photos - the camera will go to sleep and start saving battery.
One more page down in the setup menu is where you'll find monitor brightness. So if it's a sunny day, you can either turn that up so you can see better or turn it down if it's a little too bright.
Then Image Review is the amount of time that the last photo you've taken is displayed on the back of your camera. We leave ours at about 5 seconds, but it's really up to you depending on how much time you need to see your photo, make sure that it's in focus, the lighting is correct, and then get back to shooting.
So now we've set up our TG-7 camera and the FCON-T02 Fisheye Converter Lens the exact same way that we would if we were going on a dive today. If you have any questions, you can send us an email to ikelite@ikelite.com.
Quick Reference Guide
Picture mode: Natural
ISO: 100
White Balance: AUTO
Auto Focus: AF
Aspect Ratio: 4:3
Image Quality: RAW
Video: 4K 30FPS or 1080 60FPS.
Image Stabilization: ON
Remote Control: RC
Flash Compensation: 0
Drive Mode: Single
Metering Mode: ESP
Face Priority: OFF
Accessory: OFF
AF Area: Spot, center box
AF Illuminator: OFF
ISO-Auto Set > Upper Limit / Default: Upper 1600, Default 100
Sleep: 1min
Share Your Images!
One of our favorite parts of doing what we do is seeing the images that you capture. If you have any shots you’re excited about, please share them with us on Facebook or Instagram and consider submitting to be a Featured Customer on our Weekly Newsletter and website.
Additional Viewing
OM System TG-7 with DS51 Strobes: Creative Flexibility in a Compact System
OM System TG-7 with FCON-T02 FISHEYE Lens! Ikelite Underwater Results from Cayman Islands [VIDEO]
TG-7 Microscope Mode Settings for Underwater Photography [VIDEO]
One-Touch White Balance with OM System TG-7 and Olympus TG-6, TG-5 [VIDEO]
OM System TG-7 Underwater Housing // Setting it Up with TTL Strobe [VIDEO]
Wide Angle Fisheye to Macro on the Same Dive with the Olympus Tough TG-6
Logan Wood is a published photographer, cinematographer, and Producer at Ikelite. Stemming from a great appreciation for the outdoors and living an active lifestyle, his work focuses on capturing and sharing the natural world through the latest technologies. When not in the studio, Logan can be found cruising on his bike, going to concerts, and researching where to go next. You can see more of his work at loganwood.net and on Instagram @jlowood